|
DETAIL
& PAINT - Hull Markings
 |
1.
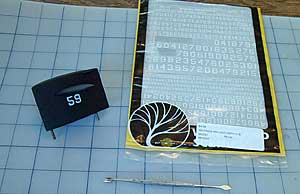
The best way to depict the standard markings on
a Permit boat is to apply dry transfers. The
main hull markings were located on the bow, sail, flank
and upper rudder. Use the plan sheet as a reference
when mapping out the precise locations on your model.
For best results, transfers should be applied to surfaces
that have been clear coated.
|
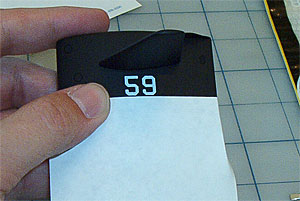 |
2.
Hull numbers were located under the sail planes.
Cut out the appropriate dry transfer from the master
sheet. A Post-It note makes for a convenient, self-adhesive
straight edge.
|
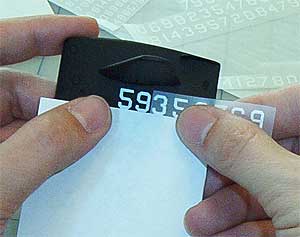 |
3. Select
the appropriate marking and align it on the model.
The plastic sheet should be up, the with transfer
on the back side, against the model.
|
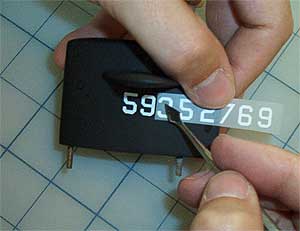 |
4.
With a burnishing tool or other firm, blunt instrument,
rub the face of the transfer. The number will adhere
to the model. |
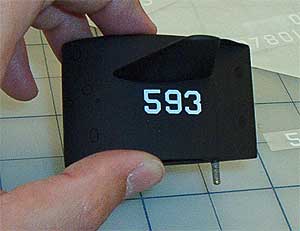 |
5.
Peal away the plastic sheet to reveal
a sharp, crisp number. Repeat
making sure to keep adjacent numbers properly
aligned.
Once
all markings are applied, spray the entire model
with a final coat of flat clear to seal and protect
the transfers from damage.
|
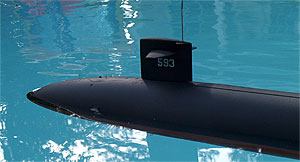 |
6.
With
your boat assembled, trimmed and painted, it is now
time to put her through her paces on patrol...
|
| |
On
Patrol
|
|
|
Which
Sheet?
To
get the proper numeral sizes and font to depict U.S.
Navy markings in 1/96 scale, use Woodland Scenics dry
transfer sheet #MG740 for the letters and #MG747 for
the numbers (45° USA Gothic).
|
|


