|
DETAIL
& PAINT - Paint
 |
1.
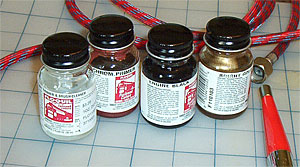
For the finish coats, automotive grade acrylic lacquers
or enamel hobby paints are recommended. Floquil railroad
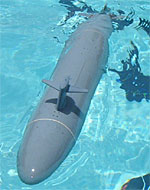
paints were used for this project. The paint scheme
for Permit boats' was as follows: upper hull
to midline - flat black; lower hull from midline
down - red oxide. The propeller should be painted
gold to simulate the bronze color of the original.
Wipe
down the entire hull with a lint free rag and be
sure to remove all dust from the scribed detail.
Lay out parts on the work space. Observe all safety
precautions when working with solvent based paint
including breathing mask and proper ventilation. |
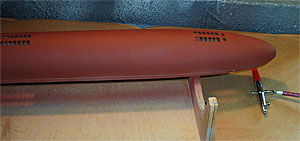 |
2.
Before you begin, make sure all objects to be sprayed
is dry and clean of all dirt, grease or fingerprint
oil. Spray the lower hull and rudder with red oxide.
Mix the paint per instructions. Here, a double action
air brush was utilized. Long thin strokes should be
used until the entire surface is covered. Allow the
hull to dry.
|
 |
3.
Wet sand hull with 1200 grit paper. Avoid sanding down
to primer. Repeat steps 3 - 4 for two more applications. |
 |
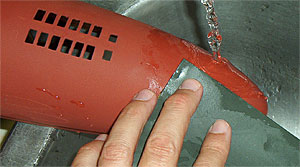
4.
Mask off the lower hull down the midline and stern planes
(use 3M 1/4" or 1/8" tape). Prepare the flat
black for spraying per manufacturer's instructions. Spray
a thin coat to lower & upper hulls, sail and upper
rudder. |
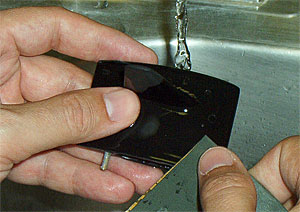 |
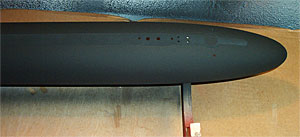
5.
Wet sand the hull and pieces with 1200 grit paper. Avoid
sanding down to primer. Repeat steps 3 - 4 for two more
applications or until the desired finish is achieved. |
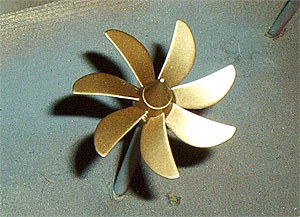 |
6.
Place the propeller in a small cup and spray the back
side with gold. Once it is dry, place it on a rod and
shoot the top side. Use a fine tip to get good coverage
around the hub between the blades. Buff with 0000 steel
wool. |
| |
7.
With
the boat painted, protect the finish with an application
of clear flat lacquer. Spray a thin coat over the entire
model and let it dry. Then, rub with 0000 steel wool
to further buff the finish.
Repeat
2 - 3 times to build a good tough barrier. |
| |
Next |
|
|
A
Word of Advice...
Great
effort goes into an outstanding paint job on any boat.
If you are a novice r/c sub driver, consider postponing
the final finish painting until you've run your boat
several times in primer. The water won't hurt the primer
and it could save having to repair assorted dings and
scrapes generated during the initial shakedown period
at the pond.
A
Painter's Trick:
When
masking off an area, shoot a thin coat of clear over
the seam prior to shooting the new color. This will
prevent bleed-through under the tape.
|
|


